TL;DR :
- Every coach and creator needs five core tools: a booking page, a payment system, a communication tool, a scheduling system, and a feedback loop
- Start planning in-person events 3–6 months ahead and virtual events 4–8 weeks ahead for best results
- A branded booking page with pricing tiers and payment plans can increase conversions by 20–40% compared to manual invoicing
- Automate payment collection and reminders so you spend time on content, not chasing deposits
- Use pre-event checklists and day-of run sheets to eliminate last-minute chaos
- Post-event follow-up is where repeat bookings and referrals are born — do not skip it
- You do not need ten different apps; the right all-in-one platform replaces most of your tech stack
Why Coaches and Creators Need a Toolkit
Running a coaching event, retreat, or workshop is fundamentally different from running a one-on-one coaching practice. When you move from private sessions to group experiences, you take on the role of event producer, marketer, accountant, and customer service rep — all at once.
Most coaches and creators start planning events the same way: a spreadsheet for attendees, Venmo for payments, email threads for communication, and a prayer that nothing falls through the cracks. This approach works exactly once. By the second event, the manual overhead becomes unsustainable.
A proper toolkit is not about buying expensive software. It is about having systems that handle the repetitive work so you can focus on what you do best — coaching, teaching, and creating transformative experiences.
The coaches who consistently sell out events and scale to six figures are not necessarily better coaches. They are better organized. They have templates, automations, and workflows that make each event easier than the last. This guide gives you the same toolkit they use.
The Essential Event Planning Toolkit
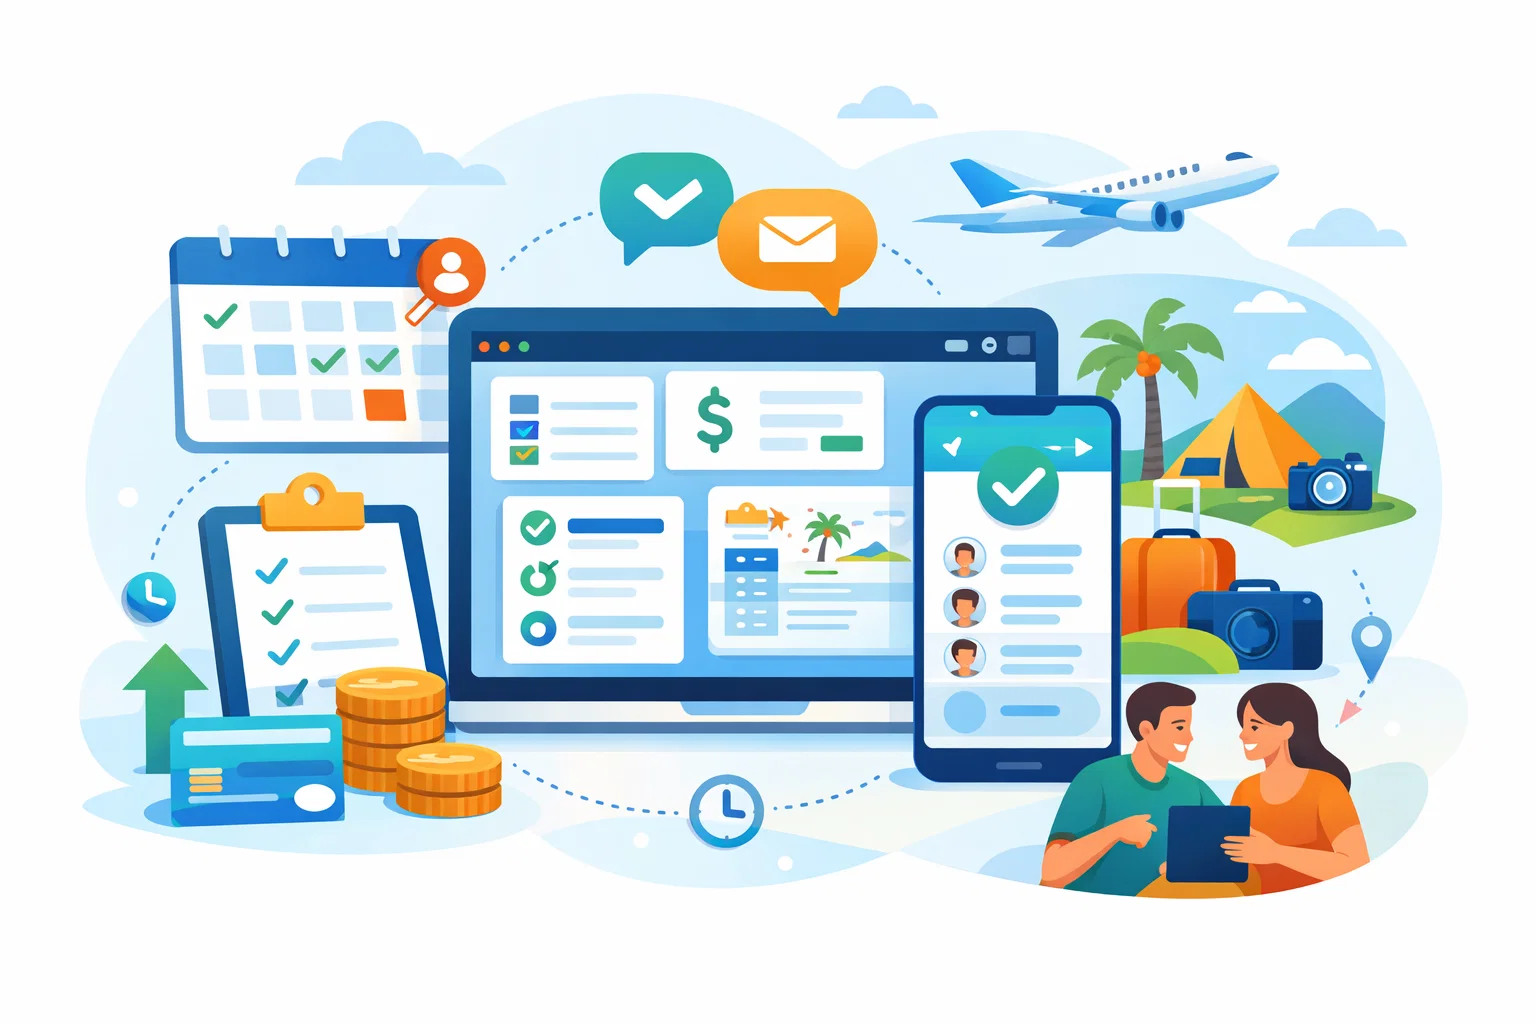
Every successful coaching event runs on five interconnected systems. You can build these with separate tools or use an all-in-one platform, but all five need to be in place before you announce your event.
1. Booking and Registration System
Your booking system is the front door to your event. It needs to:
- Display event details clearly — dates, location, what is included, pricing
- Accept registrations with attendee information collection (name, email, dietary needs, emergency contacts)
- Offer multiple pricing tiers — early bird, standard, VIP, group rates
- Support payment plans — this is critical for higher-ticket events ($500+)
- Send automatic confirmation emails with next steps
Many coaches start with Google Forms and PayPal, but this creates a disjointed experience. Your attendees fill out a form, then get a separate payment link, then receive a manual confirmation email. Each handoff is a place where people drop off or get confused.
A dedicated booking page that handles registration and payment in one flow reduces friction and increases conversions. Platforms like SquadTrip let you build branded booking pages with built-in payment processing, which means attendees go from "interested" to "paid and confirmed" in a single session.
For a step-by-step walkthrough on building pages that convert, see our guide on how to build a high-converting group trip booking page.
2. Payment Processing and Tracking
Money management is where most coaches lose the most time and energy. A proper payment system handles:
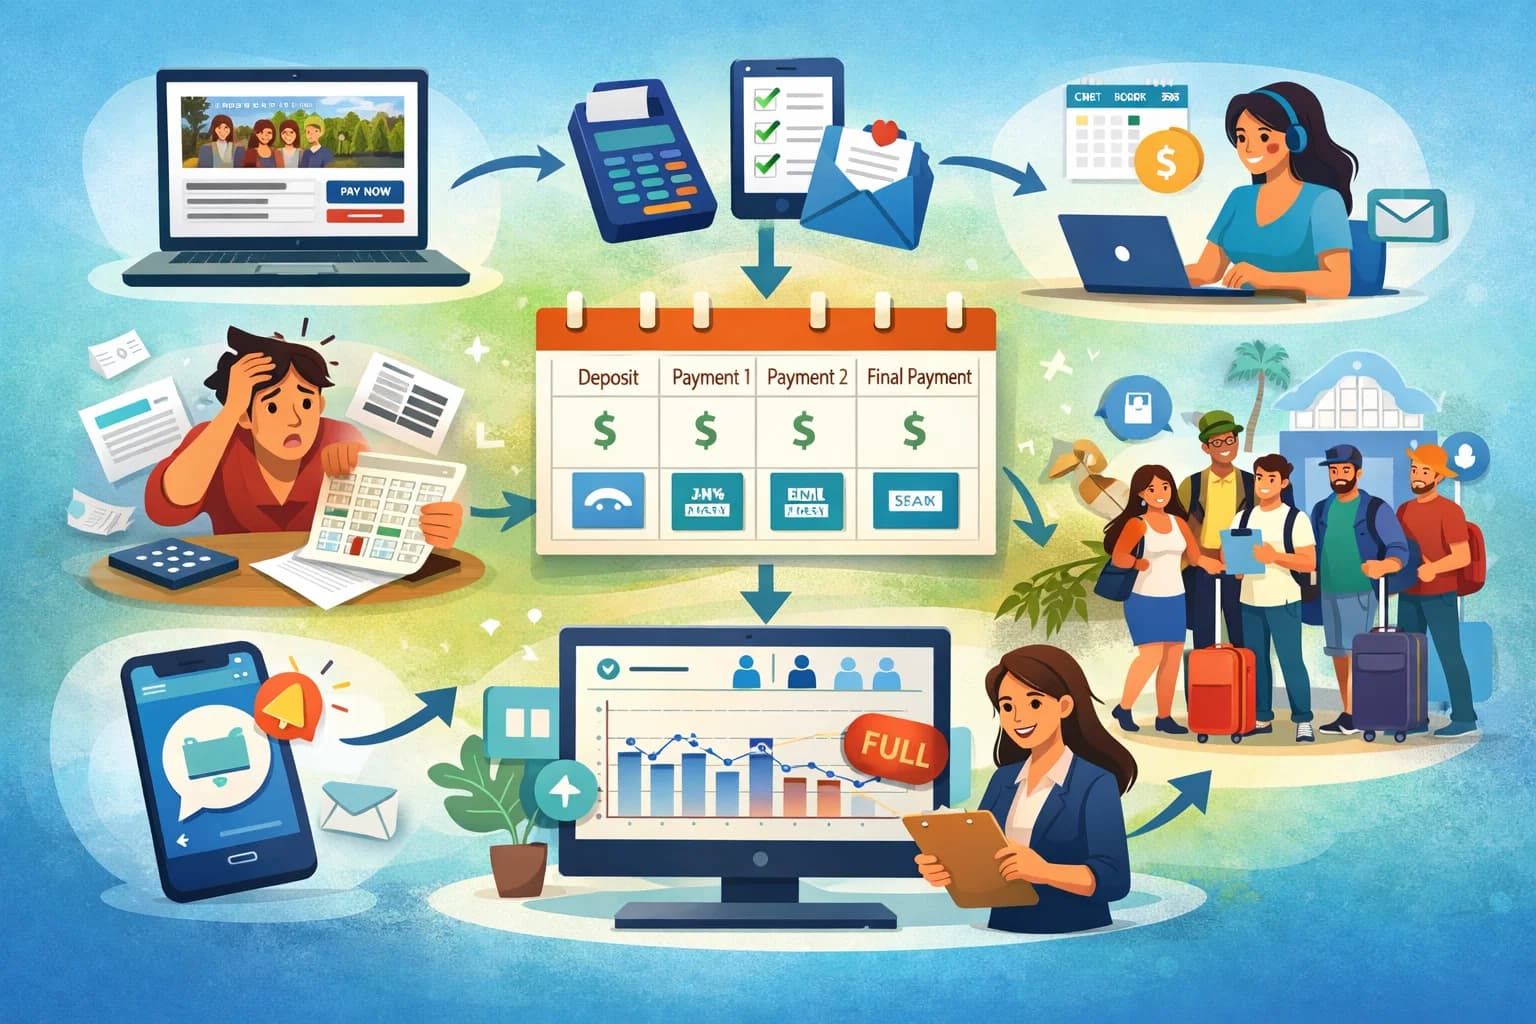
- Upfront payments and deposits — collect a deposit to secure a spot, with the balance due later
- Payment plans — split a $2,000 retreat fee into four $500 payments to make it accessible
- Automated reminders — the system sends payment reminders so you do not have to chase people
- Real-time tracking — see at a glance who has paid, who owes, and how much revenue you have collected
- Refund processing — handle cancellations cleanly without manual bank transfers
Payment plans alone can increase your conversion rate by 20–40%. A $3,000 retreat sounds expensive. A $750 quarterly payment plan sounds manageable. Same revenue for you, lower barrier for your attendees.
The coaches who dread "the money conversation" are usually the ones doing it manually. When payments are automated, there is no awkwardness. Your attendees receive professional payment reminders, and you receive money in your account without sending a single follow-up text.
Learn more about structuring payment options in our guide on offering payment plans to customers.
3. Communication Hub
From the moment someone registers to the weeks after your event ends, you need clear communication channels:
- Pre-event emails — welcome sequence, logistics, packing lists, prep work
- Group messaging — a way for attendees to connect before the event
- Day-of announcements — schedule changes, room assignments, meal times
- Post-event follow-up — thank you messages, feedback requests, next-event announcements
The simplest approach is a dedicated email sequence triggered by registration. Here is a basic communication timeline for a weekend retreat:
| Timing | Content | |
|---|---|---|
| Immediately | Confirmation | Payment receipt, event overview, what to expect |
| 2 weeks after booking | Welcome | Detailed logistics, travel info, intro to other attendees |
| 1 week before | Prep | Packing list, arrival instructions, emergency contacts |
| 1 day before | Final details | Check-in time, parking, weather forecast, last-minute tips |
| 1 day after | Thank you | Gratitude, feedback survey link, photos |
| 1 week after | Follow-up | Testimonial request, next event announcement, referral offer |
You do not need a complex marketing automation platform for this. Many booking platforms include basic email functionality, and a simple email service like Mailchimp or ConvertKit can handle the sequences.
4. Scheduling and Logistics Management
This is the operational backbone of your event. Your scheduling system should track:
- Event timeline and agenda — session times, breaks, meals, free time
- Venue logistics — room assignments, AV setup, catering orders
- Vendor coordination — caterers, photographers, guest speakers, transport
- Attendee assignments — room pairings, workshop groups, special accommodations
For small events (under 15 people), a well-organized Google Sheet or Notion board works fine. For larger events or multi-day retreats, consider a project management tool like Asana, Trello, or Monday.com to track tasks and deadlines.
The key is having one source of truth that you and any team members can reference. When your caterer asks about dietary restrictions, you should be able to pull that information in seconds — not scroll through twenty email threads.
5. Feedback and Improvement Loop
The coaches who build event businesses that grow year over year all share one habit: they systematically collect and act on feedback.
Your feedback system should include:
- A post-event survey sent within 24–48 hours while the experience is fresh
- A testimonial request that makes it easy for attendees to share their experience
- A structured review process where you analyze feedback and identify improvements
- A follow-up offer that turns satisfied attendees into repeat customers
Ask specific questions, not just "How was your experience?" Try:
- What was the most valuable part of the event?
- What would you change about the experience?
- Would you attend another event like this? Why or why not?
- Would you refer a friend? If so, what would you tell them?
These responses become your marketing material (testimonials), your product roadmap (improvements), and your sales pipeline (referrals).
Building Your Event Booking Page
Your booking page is the single most important asset in your event toolkit. It is where interest becomes revenue. A high-converting booking page includes these elements:
A compelling headline. Not "Wellness Retreat 2026" but "3 Days to Reset Your Mind and Body in Sedona." Lead with the transformation, not the logistics.
Clear pricing with options. Display your pricing tiers prominently:
- Early Bird — $1,800 (available until [date])
- Standard — $2,200
- VIP — $2,800 (includes private coaching session and premium room)
- Payment Plan — 4 monthly payments of $550
Social proof. Testimonials from past attendees, photos from previous events, and your credentials as a coach. If this is your first event, use testimonials from your coaching clients about your skills and impact.
What is included. Be specific. "Accommodations, all meals, three group coaching sessions, one journaling workshop, welcome gift, and airport transfer" is better than "an all-inclusive experience."
What is not included. Set expectations clearly. "Flights, travel insurance, and optional spa treatments" prevents confusion and complaints.
A strong call to action. "Reserve Your Spot" or "Secure Your Place" works better than "Submit" or "Buy." Create urgency with limited spots or early-bird deadlines.
FAQ section. Answer the questions that prevent people from booking: Is it suitable for beginners? What is the cancellation policy? What if I am traveling alone? Can I bring a friend?
For the full breakdown on booking pages that convert, our guide on building a high-converting group trip booking page covers layout, copy, and design principles in detail.
Collecting Payments Without the Headache
Payment collection is where many coaching events lose money — not because the pricing is wrong, but because the process creates friction. Here is how to make payments seamless:
Set Clear Payment Terms Upfront
Before anyone books, they should know:
- Total cost and what it includes
- Deposit amount and when it is due
- Payment plan options and schedule
- Cancellation and refund policy
- Accepted payment methods
Put all of this on your booking page and in your confirmation email. Clarity upfront eliminates disputes later.
Automate Everything You Can
Manual payment tracking is the number one time drain for event-hosting coaches. Automate these tasks:
- Payment reminders — sent automatically 7 days and 3 days before each payment is due
- Payment receipts — generated and emailed instantly after each payment
- Failed payment notifications — alert you and the attendee when a payment fails
- Balance tracking — a dashboard showing total revenue collected vs. outstanding
With the right platform, you can set up payment plans once and let the system handle the rest. You check your dashboard weekly instead of sending individual texts asking "Hey, did you send your payment?"
Offer Multiple Payment Options
Different attendees prefer different payment methods. At minimum, accept:
- Credit and debit cards — the most common and expected method
- ACH / bank transfers — lower processing fees, preferred by some attendees
- Payment plans — essential for events priced above $500
The more payment flexibility you offer, the fewer people you lose at checkout.
Templates and Checklists for Event Day
The day of your event should be about delivering an incredible experience, not scrambling to remember logistics. Templates and checklists free your mental bandwidth for what matters.
Pre-Event Checklist (1 Week Out)
- Confirm all vendor bookings (venue, catering, AV, transport)
- Send final details email to all attendees
- Print attendee roster with emergency contacts
- Prepare welcome packets or gifts
- Test all technology (projector, microphone, Wi-Fi, music)
- Confirm room assignments and special dietary needs
- Charge all devices and pack backup batteries
- Prepare a "day-of" contact sheet with vendor phone numbers
Day-Of Run Sheet Template
Create a minute-by-minute schedule for yourself and any team members:
| Time | Activity | Location | Notes |
|---|---|---|---|
| 8:00 AM | Venue access and setup | Main hall | Confirm AV works, arrange seating |
| 9:00 AM | Registration opens | Lobby | Welcome packets, name tags |
| 9:30 AM | Welcome and opening | Main hall | Music cue, slide deck ready |
| 10:00 AM | Session 1 | Main hall | Workbooks distributed |
| 11:30 AM | Break | Patio | Snacks set up by 11:15 |
| 12:00 PM | Lunch | Dining room | Dietary flags on place cards |
Customize this for your specific event, but the principle is the same: every moment has an owner and a location. When you or a team member can glance at the run sheet and know exactly what should be happening, the event runs itself.
Emergency Contact Sheet
Keep a physical and digital copy of:
- Nearest hospital and urgent care addresses
- Local emergency services number
- Venue manager's direct phone number
- Your assistant or co-host's number
- Insurance policy number and claims hotline
- Each attendee's emergency contact
You will probably never need this sheet, but having it ready means you can respond calmly and quickly if something goes wrong.
Post-Event Follow-Up That Builds Your Business
The 48 hours after your event ends are the highest-leverage window in your entire event cycle. Your attendees are still on an emotional high, full of gratitude and motivation. This is when you:
Collect Testimonials
Send a feedback survey within 24 hours. Include one question specifically designed to generate testimonials: "If a friend asked you about this event, what would you tell them?" The answers you get will be authentic, specific, and perfect for your next booking page.
Make it easy to respond. A short Google Form or Typeform with 5–7 questions gets higher completion rates than a 20-question survey. Offer an incentive if needed — a discount on future events, a free resource, or entry into a drawing.
Announce Your Next Event
If you have another event planned (or even tentatively scheduled), announce it while the energy is high. Offer alumni pricing or early access to create urgency:
"I am already planning our next retreat for October. As a thank-you for being part of this group, you get first access and $200 off. Reply to this email to reserve your spot."
Past attendees are your warmest leads. They already know, like, and trust you. Converting them into repeat customers is dramatically easier and cheaper than finding new ones.
Ask for Referrals
Happy attendees are your best marketing channel. Make it easy for them to spread the word:
- Send a referral link with a discount for both the referrer and the new attendee
- Create shareable social media graphics they can post with a tag
- Write a referral email template they can forward to friends
A simple "Know someone who would love this? Forward this email and they will get $100 off" can generate 10–20% of your registrations for the next event.
Nurture the Relationship
Not every attendee will book again immediately, but keep them in your world:
- Add them to your email list (with permission) for ongoing content
- Invite them to a private community (Facebook group, Slack, Circle) to maintain the connection
- Share photos and highlights from the event to reinforce the positive memory
- Send relevant content (blog posts, podcast episodes, resources) that continues adding value
The goal is to stay top of mind so that when they are ready for another experience — or when a friend asks for a recommendation — your name comes up first.
Recommended Tools for Coaches
Here is a streamlined tech stack that covers everything you need without overwhelming you with subscriptions:
All-in-One Platform: SquadTrip
For coaches who want to reduce their tool count, SquadTrip handles booking pages, payment collection, payment plans, attendee management, and communication in one platform. It is built specifically for group experiences, which means the features match how coaches actually run events — not how generic e-commerce platforms think you should.
If You Prefer a Modular Stack
| Function | Recommended Tool | Monthly Cost |
|---|---|---|
| Booking page | SquadTrip | Free plan available |
| Email marketing | ConvertKit or Mailchimp | $0–$29/month |
| Project management | Notion or Trello | Free |
| Scheduling | Calendly | $0–$12/month |
| Feedback surveys | Typeform or Google Forms | Free |
| Contracts and waivers | HelloSign or DocuSign | $10–$25/month |
| Social media scheduling | Buffer or Later | $0–$15/month |
What You Do Not Need (Yet)
Coaches early in their event journey often over-invest in tools. Skip these until you are running three or more events per year:
- Custom website builders — a single booking page outperforms a full website for selling events
- CRM software — a spreadsheet or your email platform's contact list is enough to start
- Video production tools — your phone camera and natural lighting are fine for promotional content
- Paid advertising platforms — organic marketing, referrals, and your existing audience should fill your first few events
The best toolkit is the one you actually use. Start with the minimum, master those tools, and add complexity only when your growth demands it.
For coaches ready to take the next step in growing their event business, our guide on how to sell out your trips covers marketing, pricing, and audience-building strategies that work for group experiences.
Getting Started: Your First 30 Days
If you are building your event toolkit from scratch, here is a 30-day action plan:
Week 1: Foundation
- Choose your all-in-one platform or core tools
- Set up your booking page with event details, pricing, and payment plans
- Write your cancellation and refund policy
Week 2: Communication
- Draft your confirmation email sequence (6 emails from booking to post-event)
- Create your pre-event logistics document
- Set up your email tool and connect it to your booking page
Week 3: Operations
- Build your day-of run sheet template
- Create your pre-event and post-event checklists
- Draft your feedback survey
Week 4: Launch
- Test your entire booking flow end to end (register, pay, receive emails)
- Share your event with your audience
- Collect your first bookings
This is not about perfection. It is about having systems in place so that your first event runs smoothly and your second event runs even better. Every coach who builds a thriving event business started with a simple toolkit and improved it over time.
If you are planning a retreat specifically, our comprehensive guide on how to host a retreat covers venue selection, pricing, and the full planning timeline in detail.